you are reading /
How to build your email list on Showit with Flodesk
In a previous blog post, we discussed how crucial it is to set up an email list for your photography business to reach potential customers and keep current ones engaged. We even provided tips on how to pick the perfect freebie to attract subscribers. First, let’s dive into how to build your email list on Showit with Flodesk. Starting an email list for your photography business can initially seem overwhelming, especially when you’re unsure where to begin.
However, with our comprehensive guide, you’ll quickly learn how to create an email list for your photography business using Showit and Flodesk. Our guide outlines every step you must take, from creating your form to setting up your website. We’ve also included free templates that are easy to add to your Showit website with just a few clicks, saving you time and energy. This guide helps you start your email list and inspires you to take your photography business to the next level.

Create a Segment for your Email freebie.
The first step to building your email list on Showit is to create a segment. Creating a segment on Flodesk is a simple task, and you can have as many segments as you like. Why create a segment? A segment is like a little folder where you can keep your email subscribers, so you know who is in what “folder” and where they came from.
For instance, if they signed up for your resource on wedding venues in the area, they might like to see when you feature those venues in your blog posts or get inspiration for weddings in the area. You can create content and send it to that specific segment in the future or message them for feedback on your freebie.
How to create a segment:
1. Go to https://flodesk.com/c/KERNXINK (you get 50% off your first year)
2. Once you’ve sign in or created your account, Click on Audience

3. Click on Segments

4. Click on New segment

5. Name your freebie

6. Choose your colour

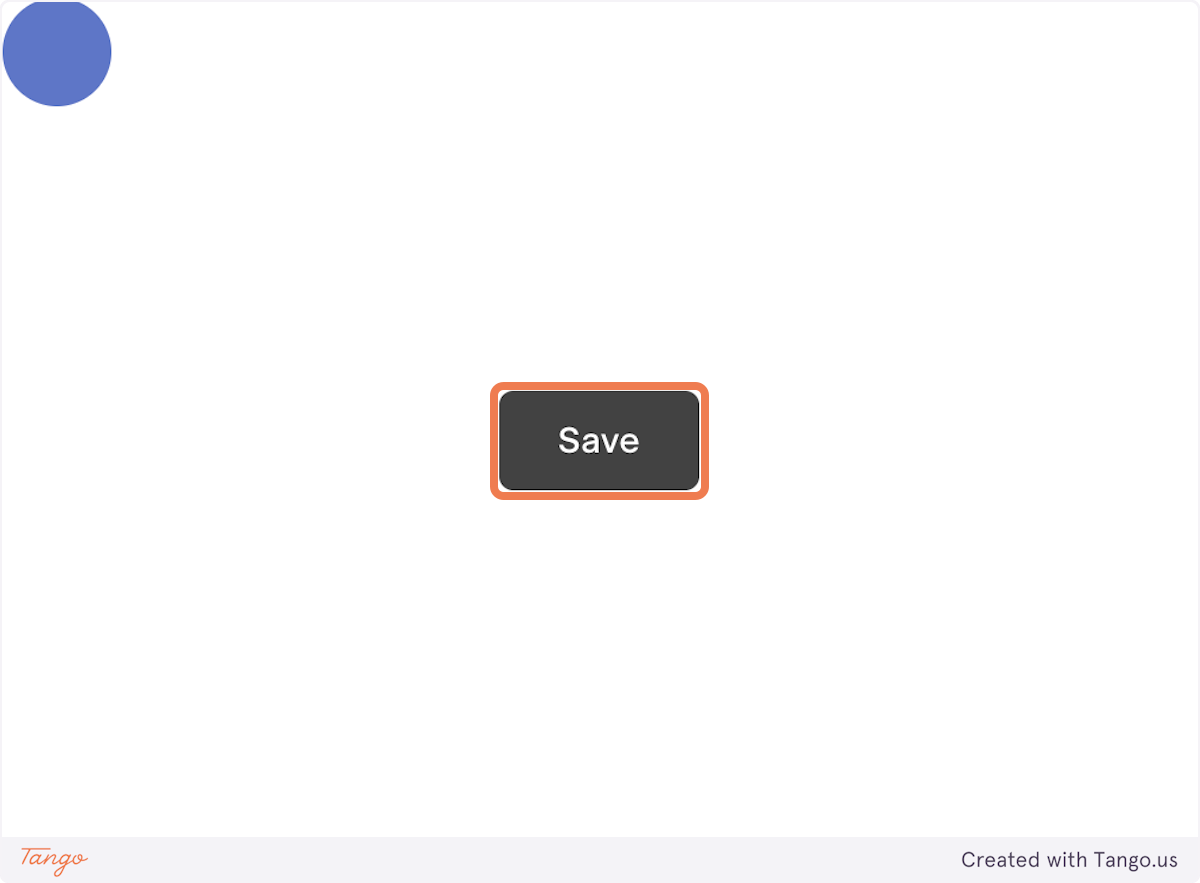
7. Click on Save

Create your email opt-in form.
The next step is to create a form for your freebie and add it to your website to collect emails and allow people to sign up. When creating the form, consider how it will look on your site. In the tutorial below, we designed our form to be all-white with a transparent background. This allows us to overlay it on top of images or dark blocks of colour. Once you have designed your freebie, paste the link of your freebie (whether it’s on your website as a page or uploaded as a PDF to Dropbox) into the redirection box. This means that when someone signs up, they will automatically be taken straight to the freebie for them to use.
How to create your form for your freebie opt-in:
8. Click on Forms

9. Click on New form

10. Click on Inline

11. Find the new segment you created

12. Click on the new segment

13. Click on Save

14. You can now customise your form

15. I delete the top text as I create my headers within showit

16. I also make my backgrounds transparent so I can overlay the form on images and backgrounds in showit, I tend to have dark images + coloured backgrounds so I make the text and borders of my form white.

17. Click on Next >
 18. Click on No…

19. Click on Continue

20. It’s up to you if you’d like to be notified or not

21. Click on Continue

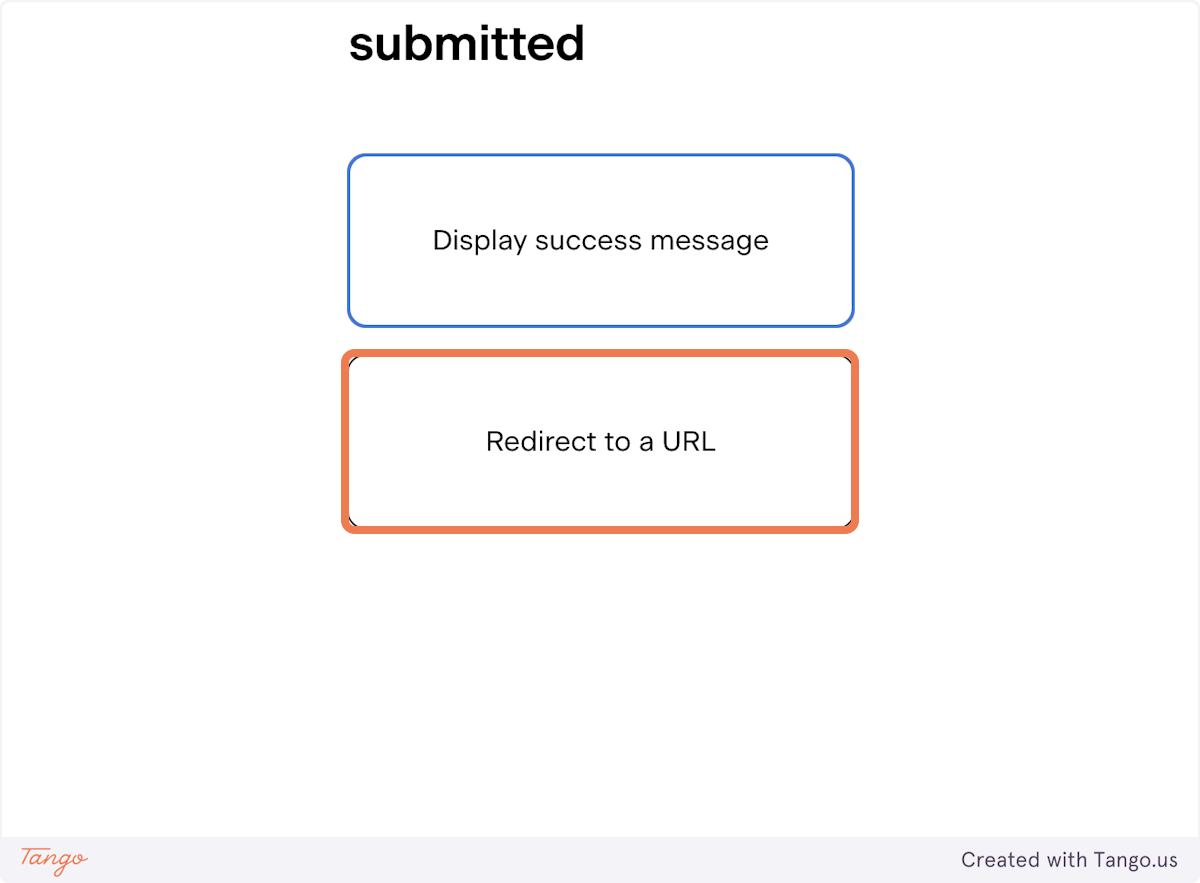
22. Click on Redirect to a URL

23. Paste in your link to your new freebie. If you’d create a PDF document of your freebie, then upload that to Dropbox or google drive and grab the share link from there. If your freebie is on Showit, then grab the URL for that freebie.

24. Click on Continue

25. Click on Advanced options

26. Click on Get raw HTML code…

27. Continue

28. Click on Continue

29. Copy text area

30. Go to app.showit.co
31. Find the canvas where you’d like your email freebie to show up

32. Create or click on the embed code box

33. Paste text area

34. Click on SAVE

35. Drag the box to size it (make sure you click preview to check how it shows up live)

36. Click publish on your site, and your new opt-in freebie is ready to go!

You’ve done it! Well done for creating your freebie opt-in.
We hope this blog post has helped guide you on how to build your email list on Showit. Now that you have taken the first step towards expanding your business, it’s important to remember that building an email list is an ongoing process that requires constant attention and effort. Therefore, Building and maintaining an email list is crucial to any successful photography business. By following the tips outlined in this post and consistently providing value to your subscribers, you can continue to grow your list and expand your reach. In our next post, we will discuss what to do once you have your list set up and have a few people on it so you can nurture and continue to make connections.
We have one last resource for you before you go:
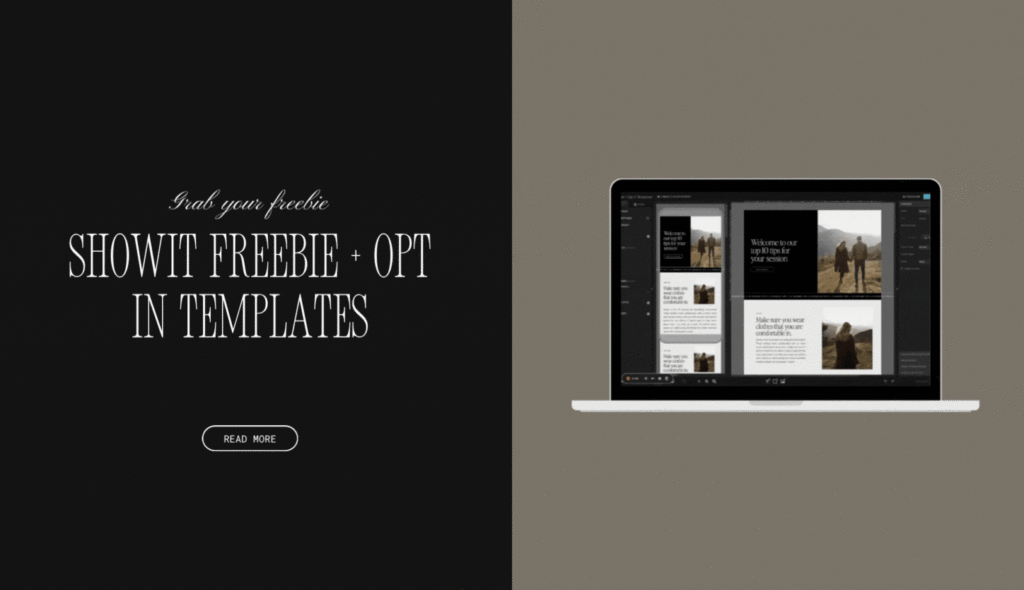
We’ve put together some resources for you to save you a little time and energy when creating your email list. We have designed on Showit some canvas’ that you can place around your site, encouraging people to sign up for your email list. We’ve also included two pages you can use as a template for your email freebie, including ‘ten tips to…’ page and a ‘vendors in the area.. ‘page. Ready for you to customise to make making your freebie 10x quicker. We’ve included tutorials on how to add them to your Showit site.
Free templates include:
- Opt-in templates
- Two freebie templates
- Tutorial on how to add templates to showit
- Tutorial on how to create an email list with Flodesk + showit
- 50% off your first year of Flodesk (for new accounts)


